In this tutorial you will learn all you need to know for understanding how DynamoCode works.
You will follow these steps:- Create a project
- Create the folders
- Create a template
- Create an entity
- Generate code for that entity using the template
-
Register in DynamoCode and Install client application.
- Click here for more details.
-
Log In in DynamoCode Web Site.
- Click here for Log in.
-
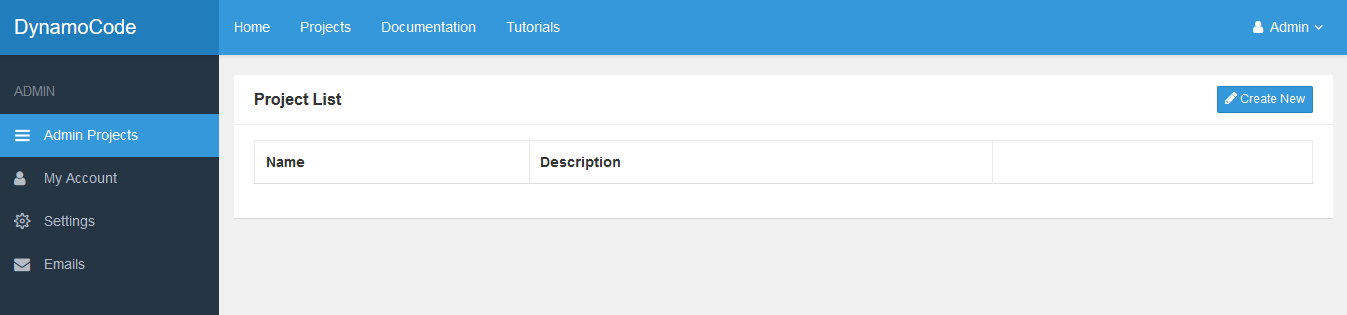
Create a new project named ECommerce
- Click the Create New button to create a new project.
-
Enter the values for the new project.
Name ECommerce Description ECommerce Project Package ECommerce Import No Select 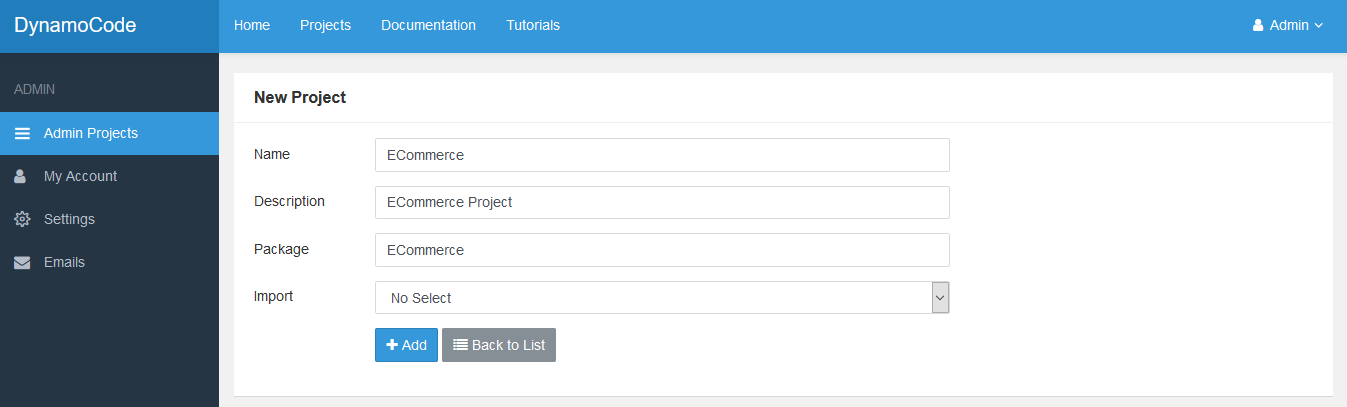
-
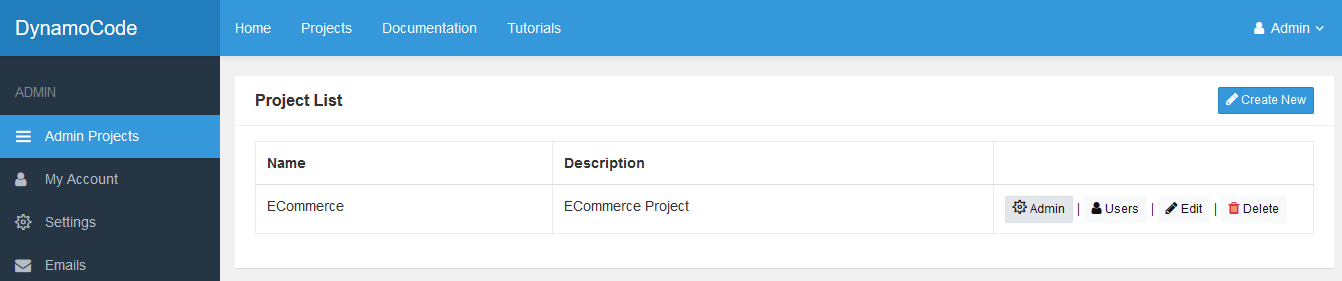
Select Admin option for the new ECommerce Project.
- Click the Admin link for the ECommerce project.
-
Add the folders to ECommerce project.
- Go to Admin Folders option on the left-hand side menu.
- Add these three folders: src, Domain and ECommerce.Domain following the hierarchy where src is at the top.
src src -> Domain src -> Domain -> ECommerce.Domain 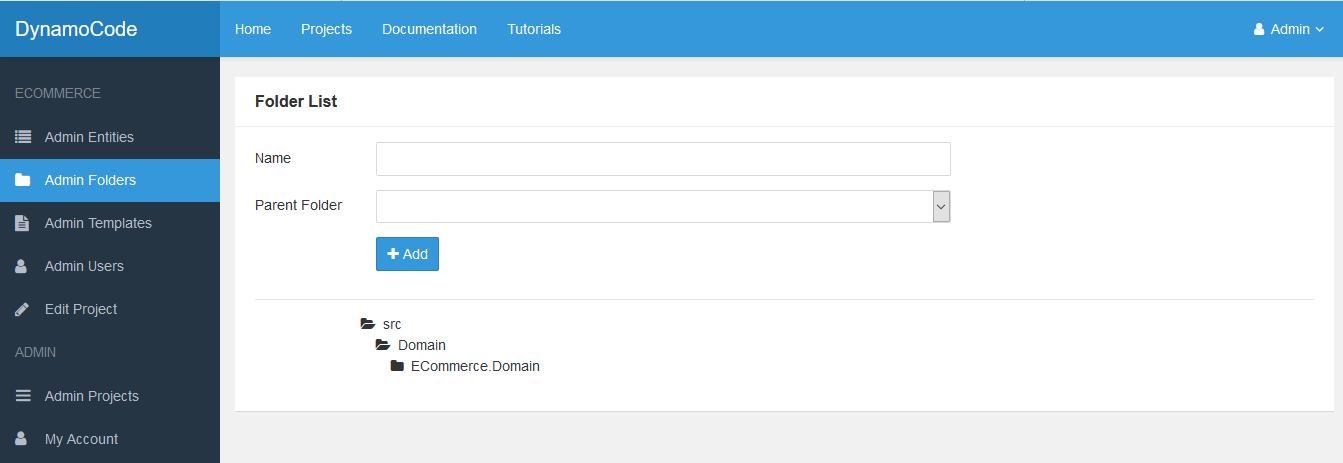
-
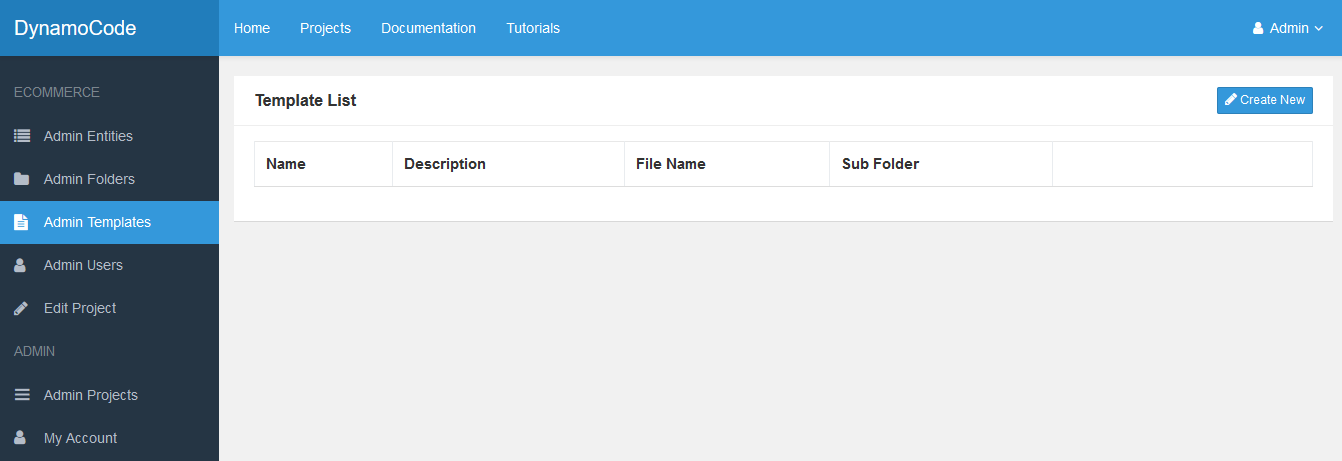
Add the C# Class template to ECommerce project
- Go to Admin Templates option on the left-hand side menu
- Click the Create New button to create a new template.
-
Add the information for the C# Class Template.
Template TextName C# Class File Name {{model.Name}}.cs Description C# Class Template Folder src - >Domain -> ECommerce.Domain SubFolder {{model.Package}} Action Create using System; namespace {{model.ProjectPackage}}.Domain{% if model.Package <> '' %}.{{model.Package}}{% endif %} { /// <sumary> /// {{model.Description}} /// </sumary> public class {{model.Name}} { {%- for p in model.Properties -%} /// <sumary> /// {{p.Description}} /// </sumary> public {{p.VarType}} {{p.Name}} { get; set; } {%- if forloop.last == false -%} {%- endif -%} {%- endfor -%} } }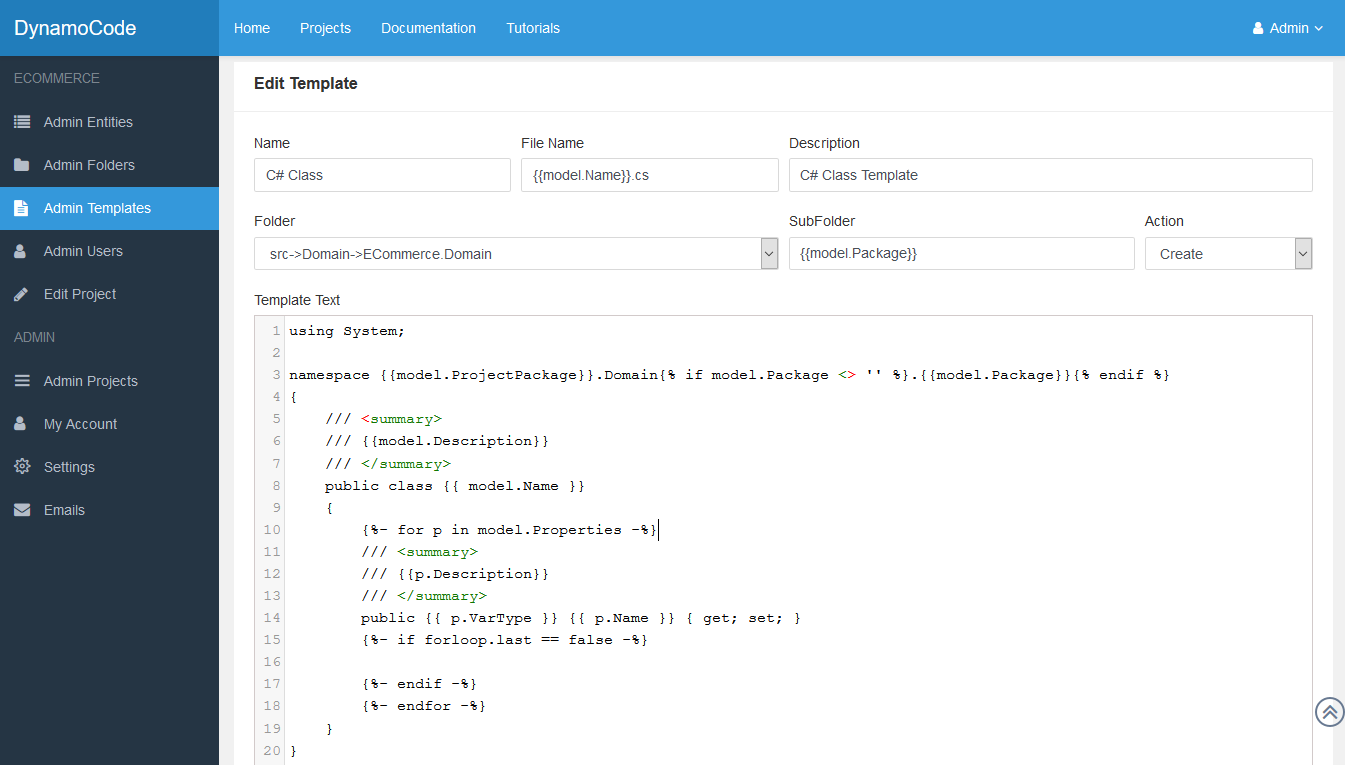
-
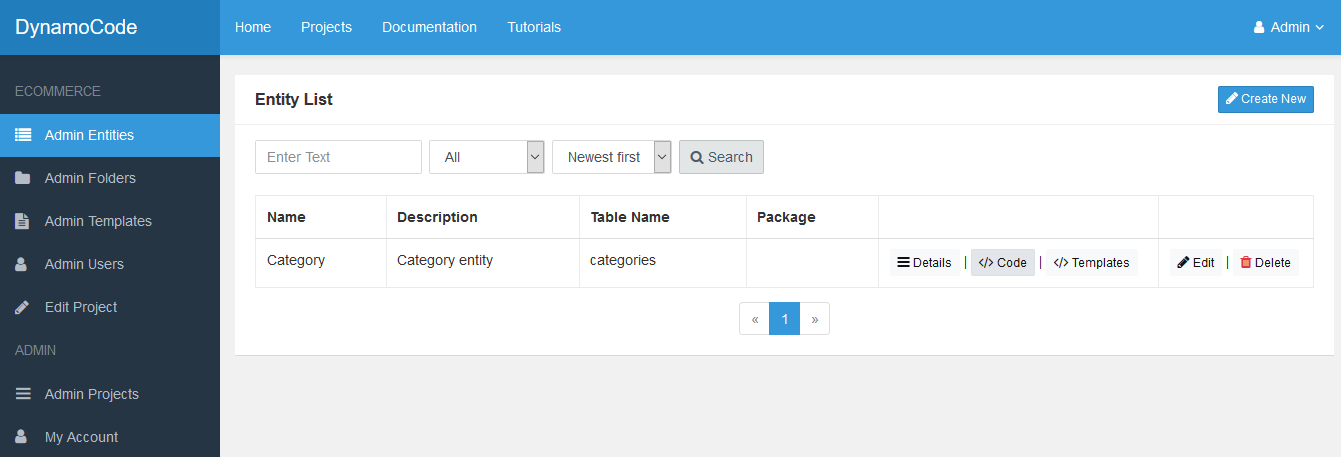
Create a new entity named Category.
- Go to Admin Entities option on the left-hand side menu.
- Click the Create New button to create a new entity.

-
Enter the values for the new Category entity.
Name Category Description Category Entity Table Name categories Package 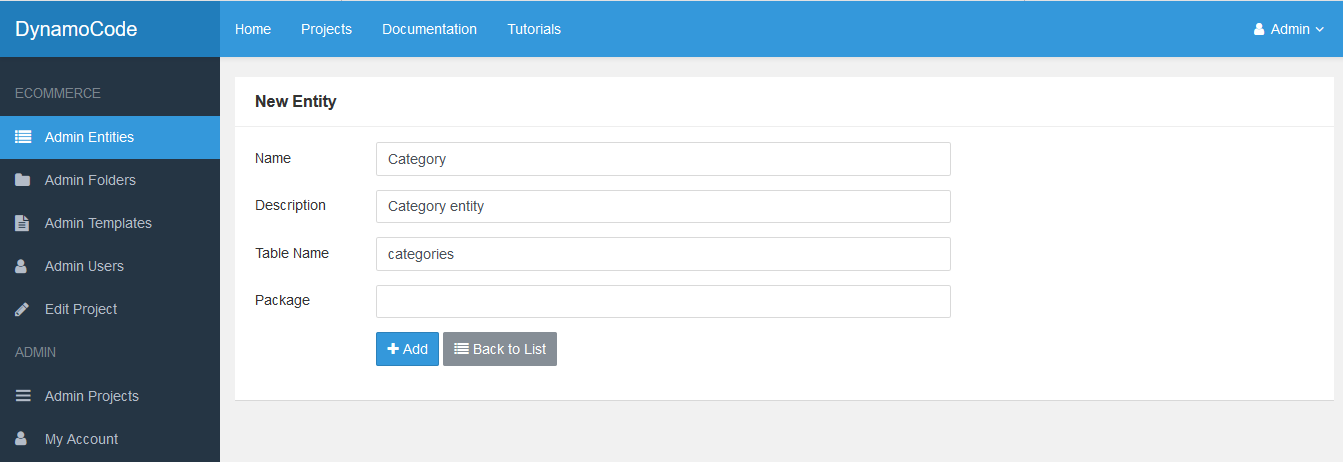
-
Add the Id and Name properties to Category entity.
- Add the Id property.
Name Id Var Type int Description Category Id Column Name id Db Type int Column Type Identity Visual Type Hidden Options Required, Edit - Add the Name property.
Name Name Var Type string Description Category Name Column Name name Db Type varchar(250) Column Type Column Visual Type Text Options Required, List, Create, Edit 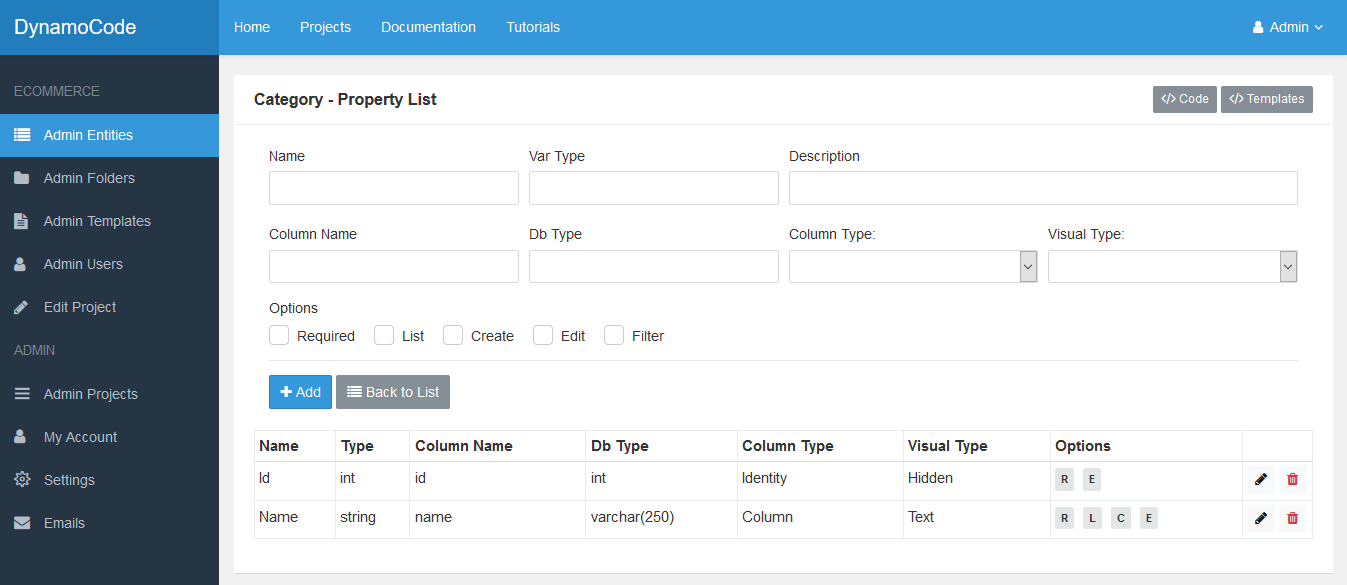
-
Test the C# Class Template.
- Go to Admin Entities option on the left-hand side menu.
- Click the Code option for the Category entity.
- Click the Send button to generate the code.
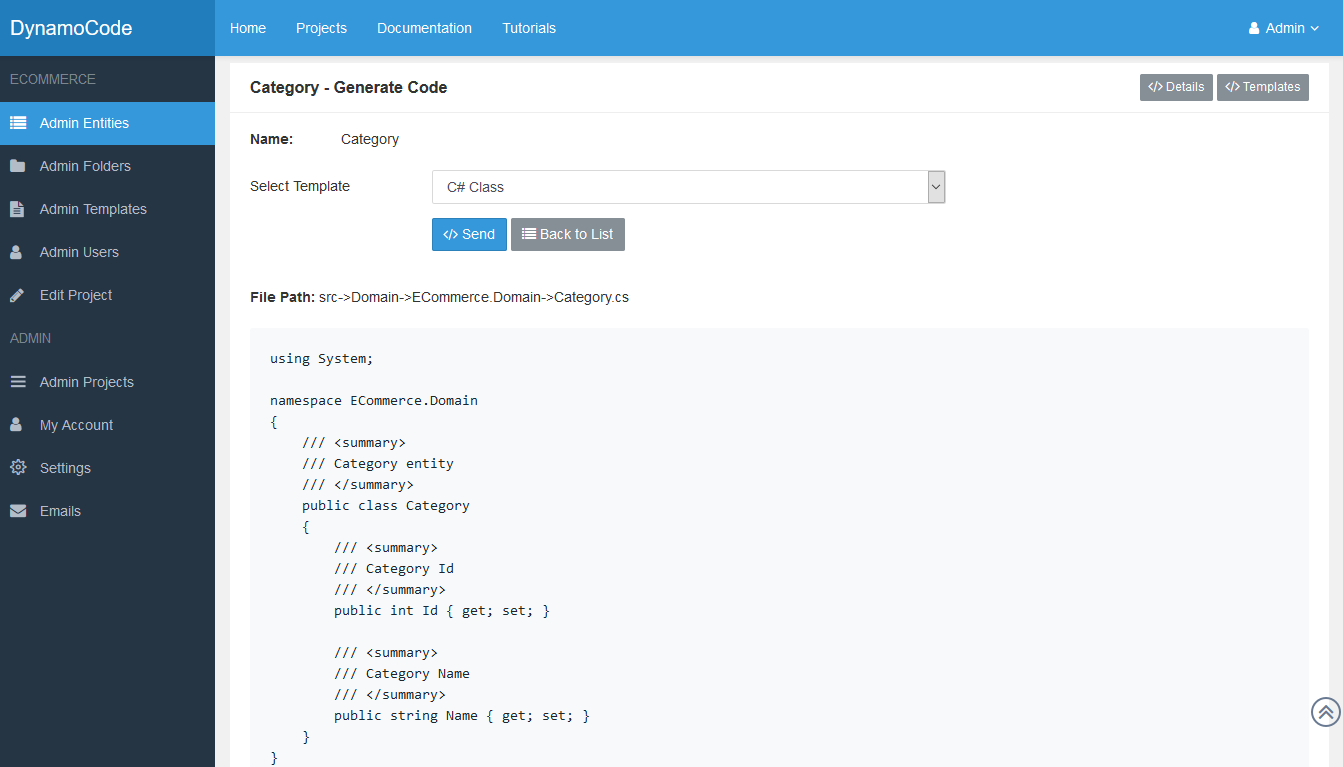
You can see two outputs:
File Path: Show the path where the file will be generated.
Code: The generated code is the result of applying the Category entity information into the C# class template. -
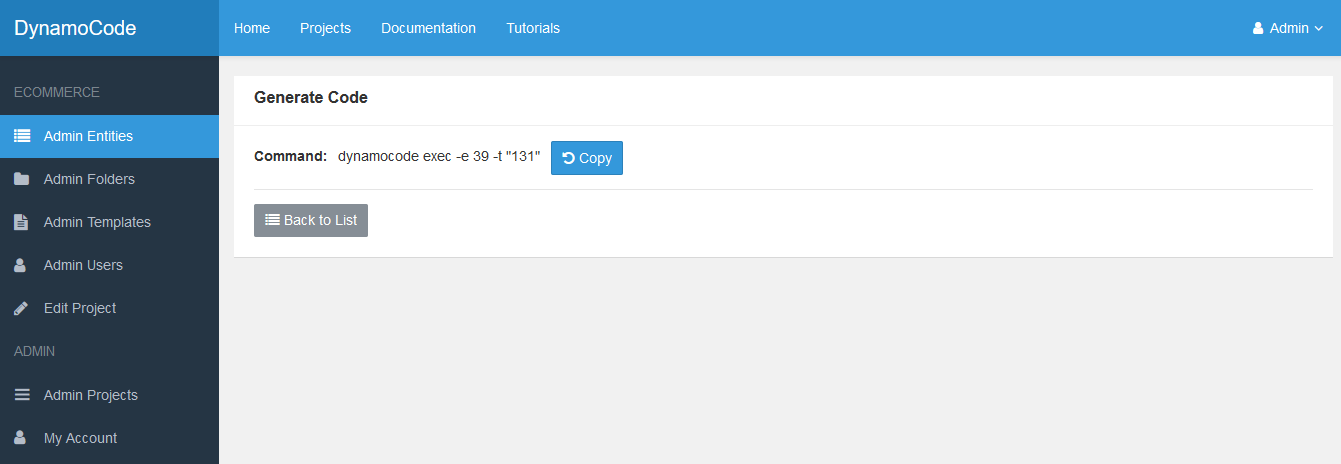
Generate the code for Category entity in your file system.
- Go to Admin Entities option on the left-hand side menu.
- Click the Templates option for the Category entity.

- Select the C# template for the Category entity.
- Click the Generate Command button to generate a command.
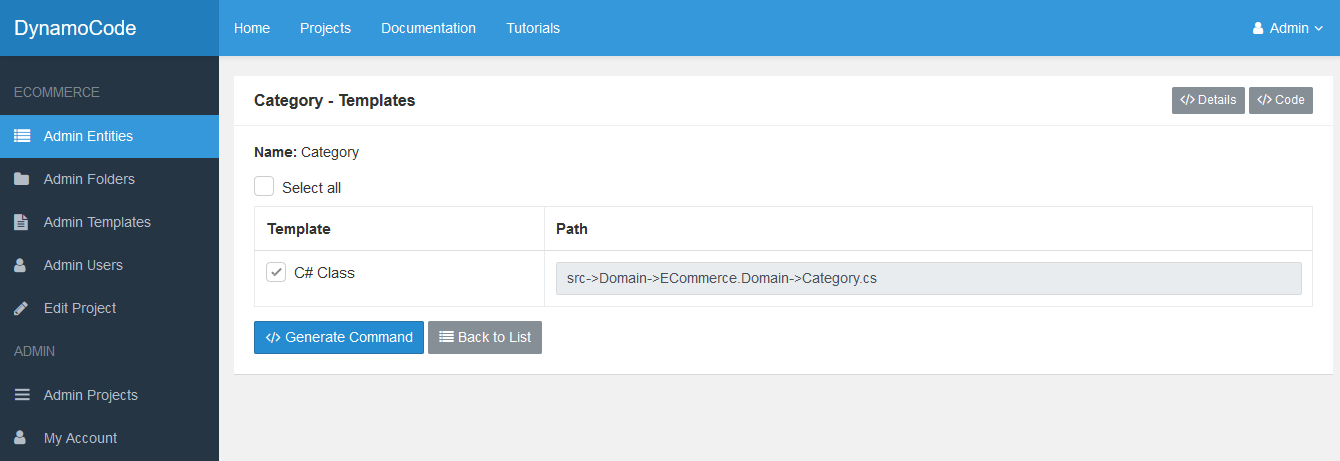
- This command should be copied and pasted in the client application.
-
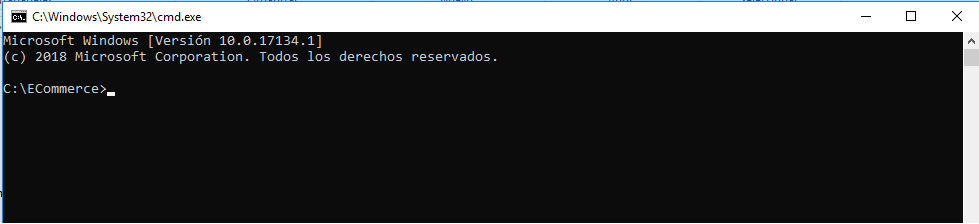
Open the client application
- Create into your file system a folder named ECommerce.
- Open the ECommerce folder and inside this folder open the command line application (cmd in Windows).
-
Log in in client application
- Authenticate the client application by using this command and entering your credentials:
Command:dynamocode login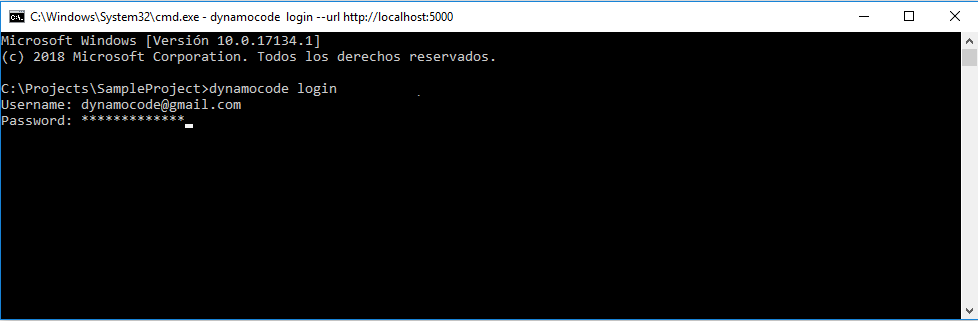
- Don't close the client application. You are going to use it many times.
-
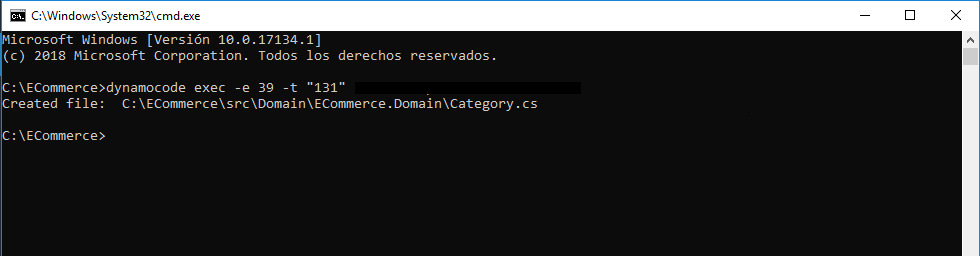
Generate the code files for Category entity.
- Go back to web application and copy the command.
- Paste the command in the client application and press enter.
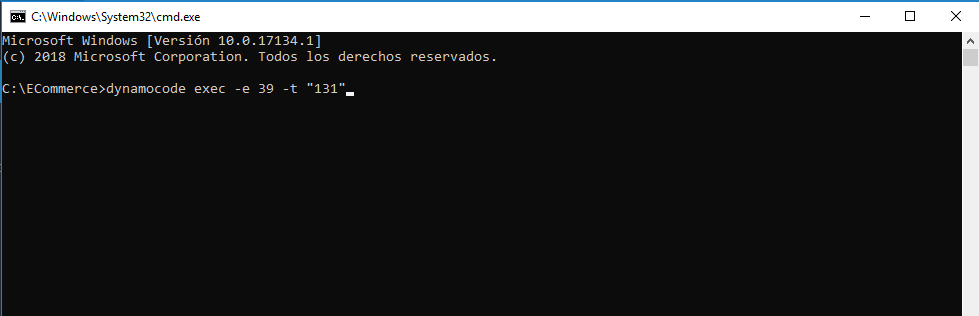
- You will see the Category.cs file being generated into the ECommerce.Domain folder.